Hey y'all! I can't believe it is week 2 of the One Room Challenge! It is time to give you an update on where I am in the process of transforming my parents new guest bedroom! You will remember last week I shared the before pics, which takes you on a time machine ride back to the 70s! Oh that pink carpet! Well you can go spread the good news...the carpet is gone! Out with the old and in with the new! All of the multi-colored carpet in the upstairs bedrooms just had to go! My mother did finally decide to go with carpet in her bedroom because the room is large and she wanted a softer feel. But for the rest of the upstairs, including the guest bedroom, we selected a hand scraped engineered hardwood from Lowe's. You can find it directly through this link! We were even able to get a quantity discount due to the square footage we ordered...but you have to know to ask for it!! Hint Hint! We had these beauties installed by professionals! Because let's be honest, ain't nobody got time to deal with that square footage!
This week I also took on the task of painting all the trim in the space. I am a bright white trim kinda gal. I feel strongly about it! I can totally get behind the idea of a fun colored trim in the right space, but otherwise WHITE! My favorite paint to use for trim is Behr from Home Depot. I use Ultra Bright White in high gloss. I am also a GLOSSY girl...the glossier, the better!!! Make it SHINE! And a little secret about me...I am a pretty darn good painter. I try to keep my talents close to the chest and only break it out for myself and...my momma.
Here are a few of my painting tips:
- You need to invest in a really good brush! Like for real. I will ONLY use a Purdy paint brush. You can find my favorite through this link! It is important to have the right tools to get the best results!
- Primer can helpful to lessen the look of brush strokes! I don't always use it, but have noticed a difference when I do!
- Paint your trim FIRST! Start with your primer and 2 coats of trim paint (high gloss white in my opinion). This helps you be neat and not worry about getting it on the walls. Come back and trim out your wall color after your trim coats have completely dried. I have discovered that it is easier to cut in on your walls neatly after your trim is finished! This way when painting both your trim and walls, you don't have to use tape!
- You really need to have a steady hand. This is tricky because some people just don't got it! If you don't, no worries...just stick to rolling and call over your steady handed friend...just not me! Hahaha!
- Again, invest in the best rollers. And get yourself a roller extender!!! This one is my favorite!! It adjusts to several different lengths!
- You can line your paint pan with plastic grocery bags or a trash bag so you don't have to waste so many plastic liners!!
- You can also use plastic bags to cover your rollers or brushes in between coats so they don't dry out! Boom!
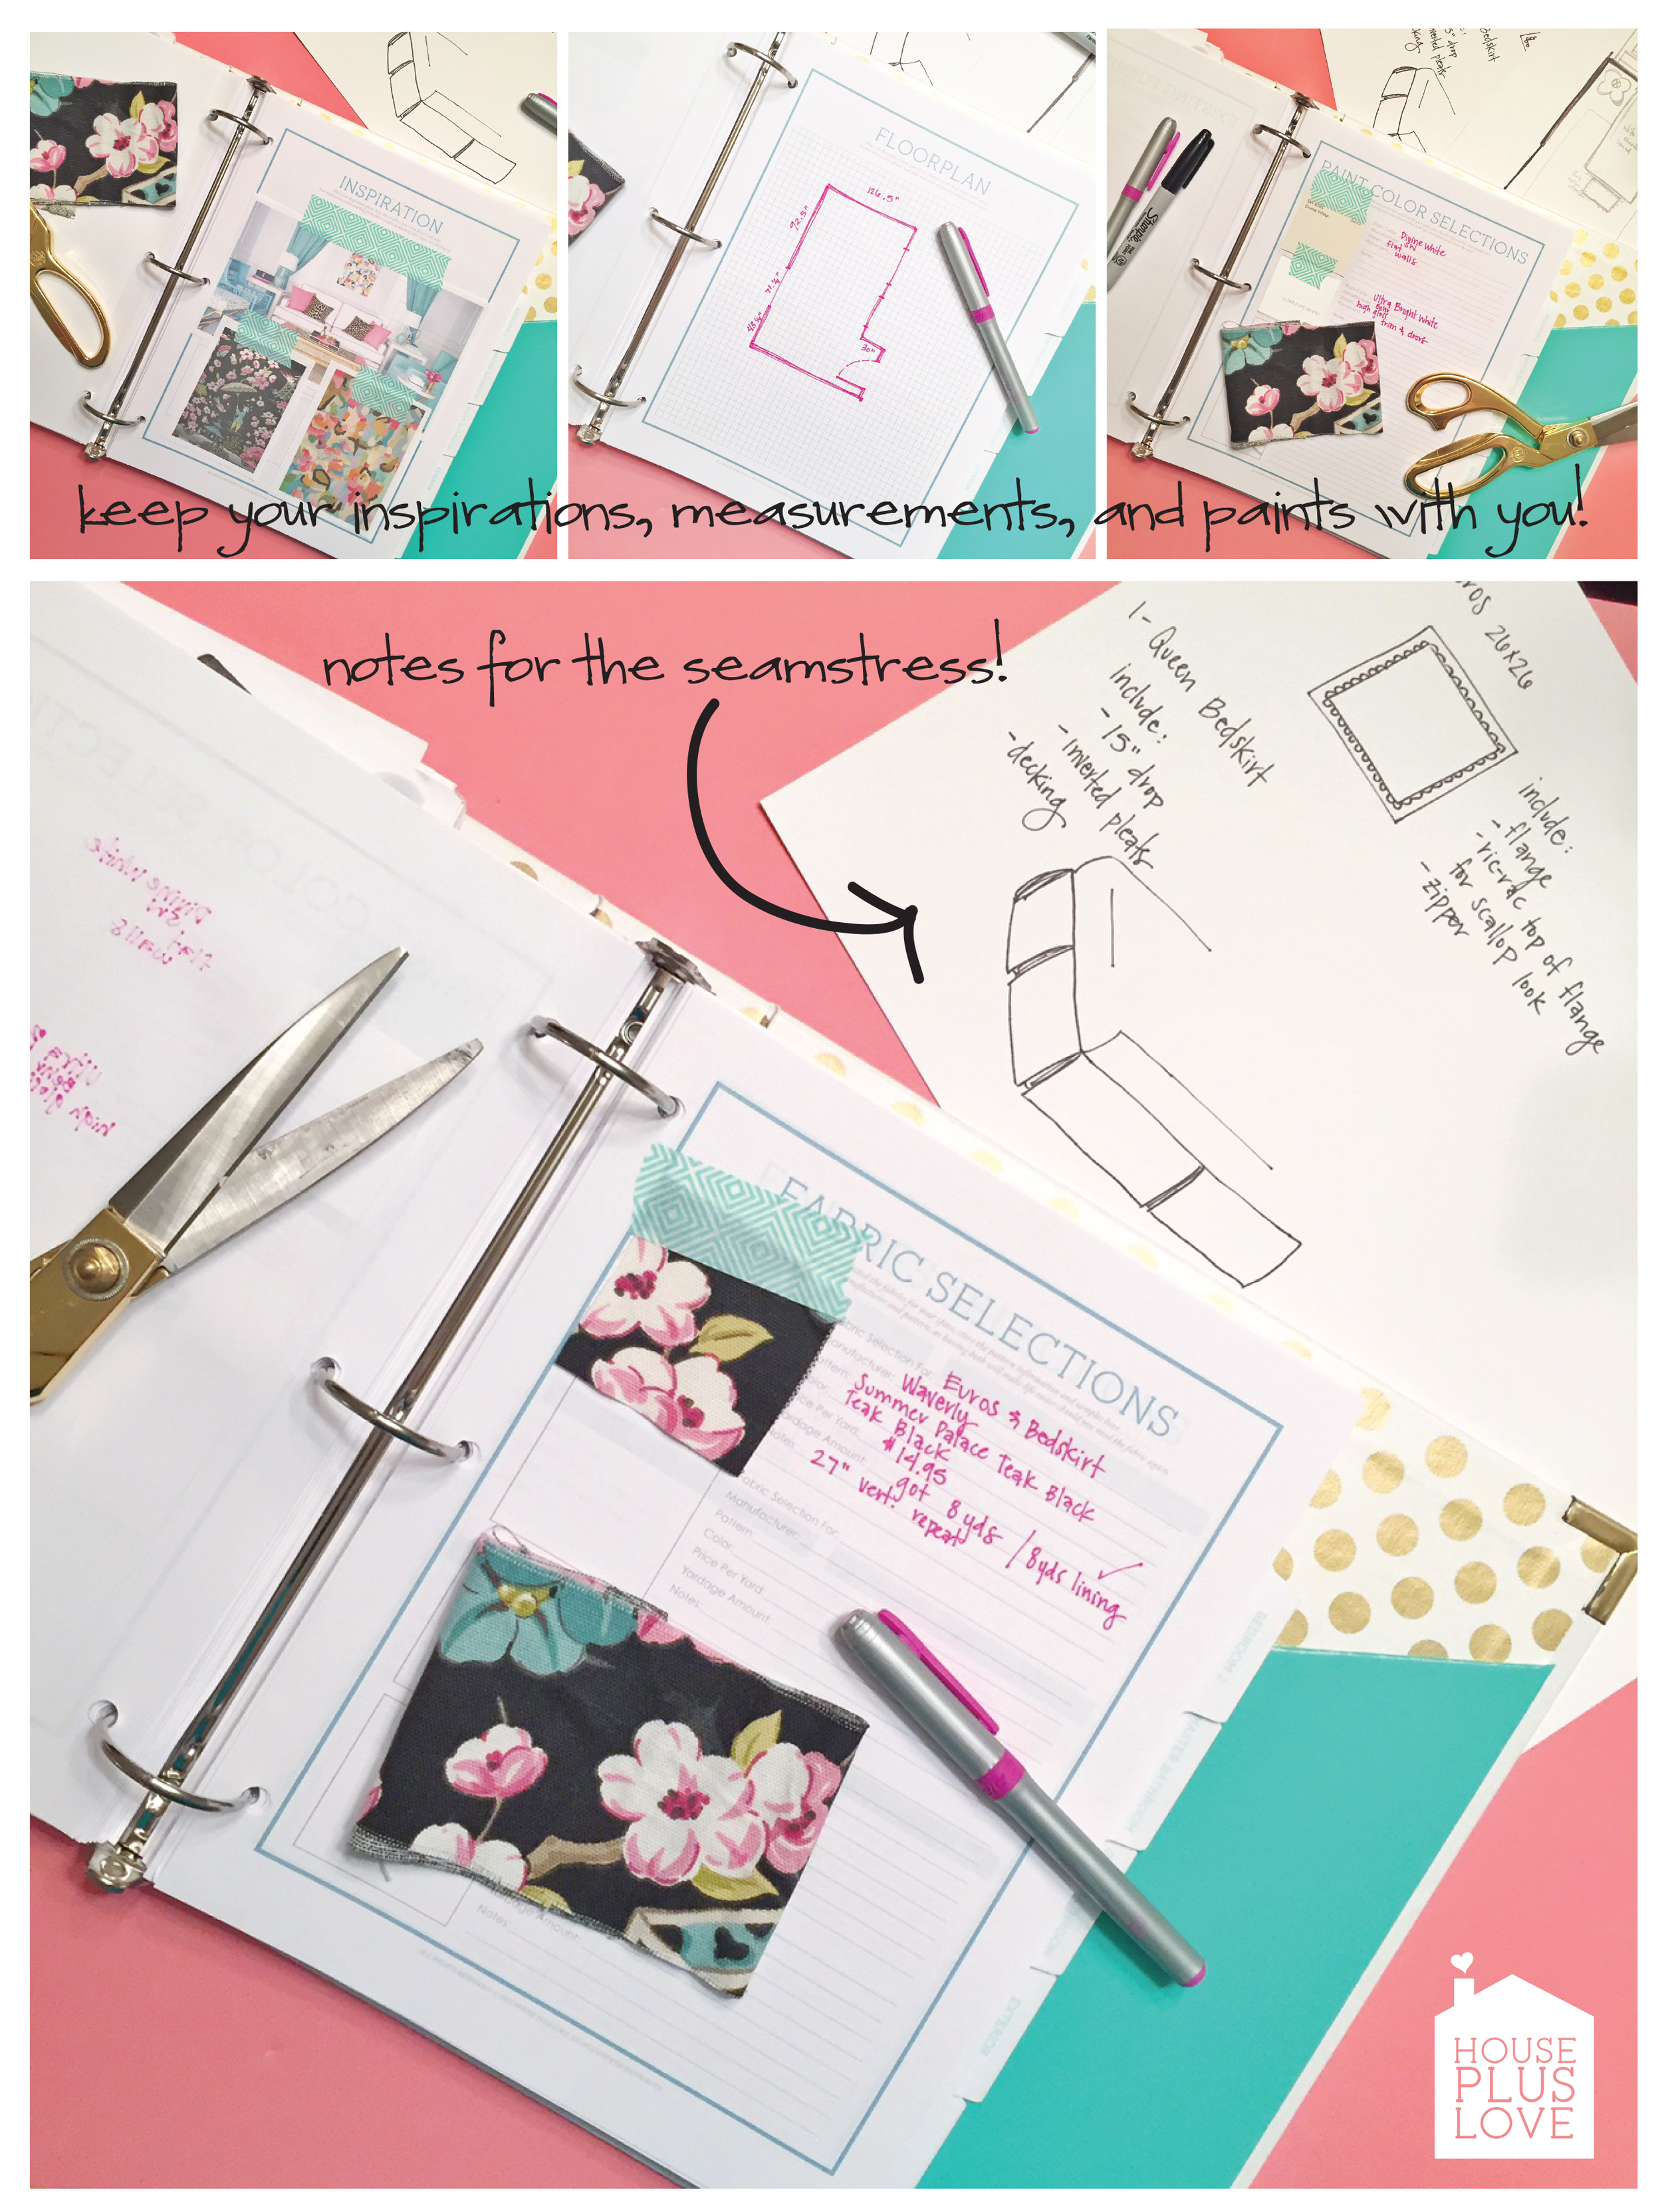
Along with getting the walls and floors knocked out, I also spent some time getting organized! The more and more renovations I do, I realized there needed to be a place for a design savvy homeowner to organize and record their selections they make along the way! SOOO...I got to planning and designing and created the House Plus Love design planner for the home! It has been a game changer in the way I plan and create a space...not only in my business, but in my own home! I now have a place to jot down my measurements, paint selections, fabric, furniture, budget, and the list goes on and on! So this week, I grabbed my mom's personal HPL binder (she's got the hook up) and got to tapping and recording all the plans we had nailed down! She and I will now have a reference for our selections as we plan and a keepsake for the future!
Speaking of nailing things down...the fabric I chose, was not only one of the inspirations of the space, it will MAKE the space! I loved it so much after stumbling upon it at my favorite local fabric store, Richtex's, I decided to have custom euros and a matching bed-skirt made! After a quick consult with my seamstress, the fabric was cut, bought, and in the process of being turned into a beautiful custom creation!! Here is the direct link to the fabric! This is actually Richtex's online store...right here in Alabama!!
Holy cow! That was a lot!!! Thanks for following along on this journey!! Be sure to follow the rest of the fun with Calling It Home and stalk the hashtag #oneroomchallenge!! Here is the direct link to this week's link up!!


